(even if you aren't vegan)
The Moron's Guide to Spriting
From Wiki User Wiki
This guide is dedicated to Noxigar(not that he is a moron. Rock on, man!)
Contents
Before you get started...
- If there is something that doesn't answer your question, ask it on the talk page and wait for a reply. Any user that knows what to do may answer it.
So you wanna make custom sprites?
- Well, first, if you want to take the easy way out, you need to get a sheet. Some places to get them are at:
Sprites Inc.(Megaman & Castlevania Only)
- Once you have the sheet you desire, mix and match them. Then, you should probably recolor
Recoloring
- You recolor sprites by using a program to shade over them. The preferred program s Microsoft Paint, but most other default programs can work as well.
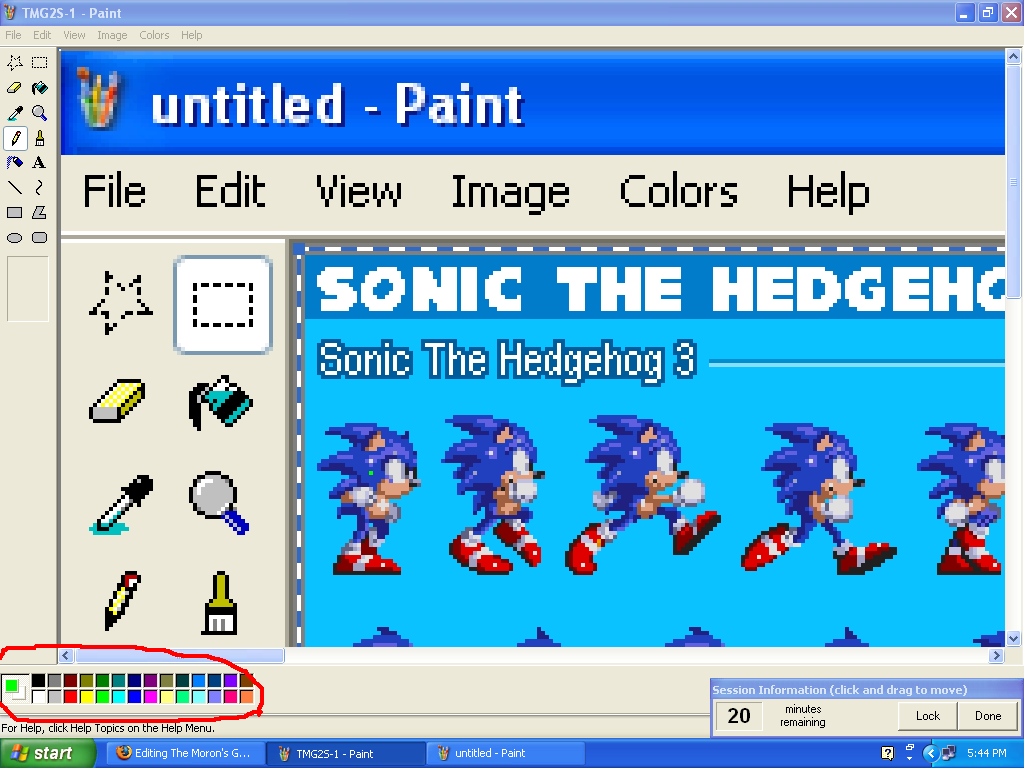
- Now, bring them in like such:
- Now, see the paint can and pencil? They are the primary recolor tools. When you want to Recolor, go to View, Zoom, Large size.
- Then, use the 2 tools to recolor by picking a color in the box at the bottom and left-clicking on the spot you want to recolor.
- Remember on more advanced sprites to use multiple shades to make the coats proper.
- Now, you know how to RECOLOR!
Recoloring, Patrick's Version
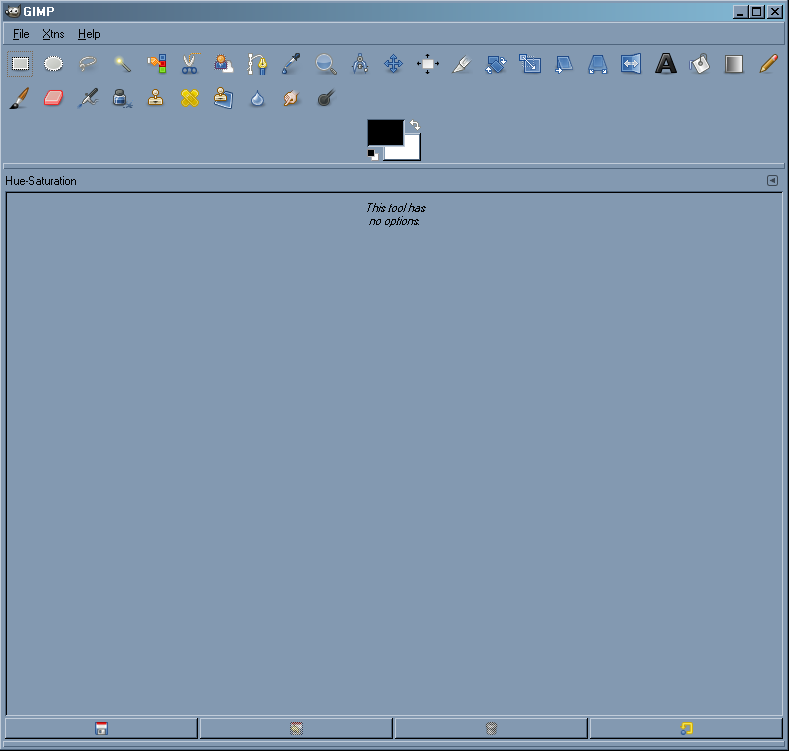
- This method is a little less time consuming. What you need to do, is go to this site to download a nifty progrum called GIMP. Yeah, that's what it's called. Shut up! Once you are done downloading it and such, open it.
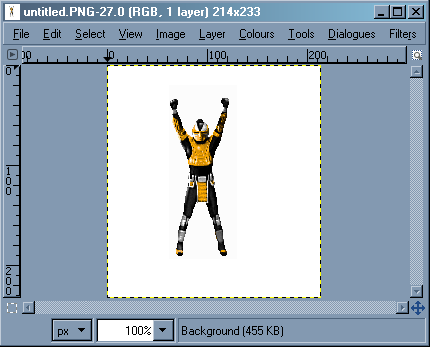
- Go to File, and Open to open an image. There will be a section there called "Places". Click on "My Pictures" and search for the picture you want to recolor, and open it. For the example picture, I'll use Cyrax from Mortal Kombat. Say "Hi", Cyrax!
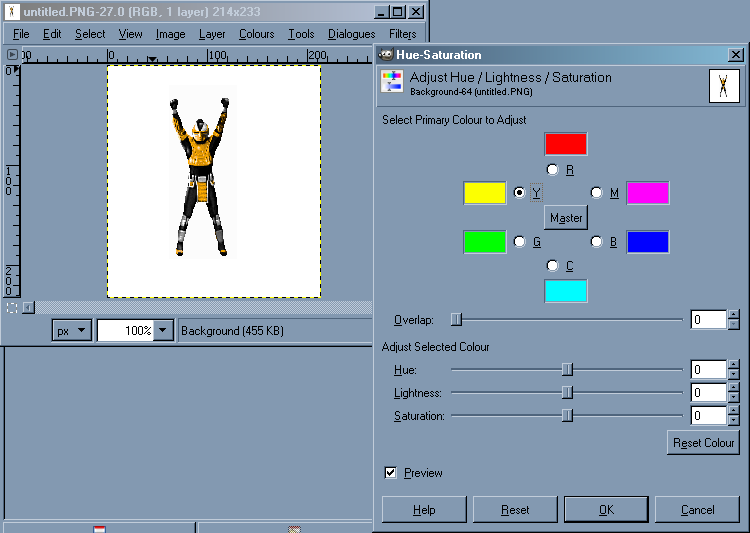
- Yeah, shut up. Anyway, click on "Colours" and then "Hue-Saturation".
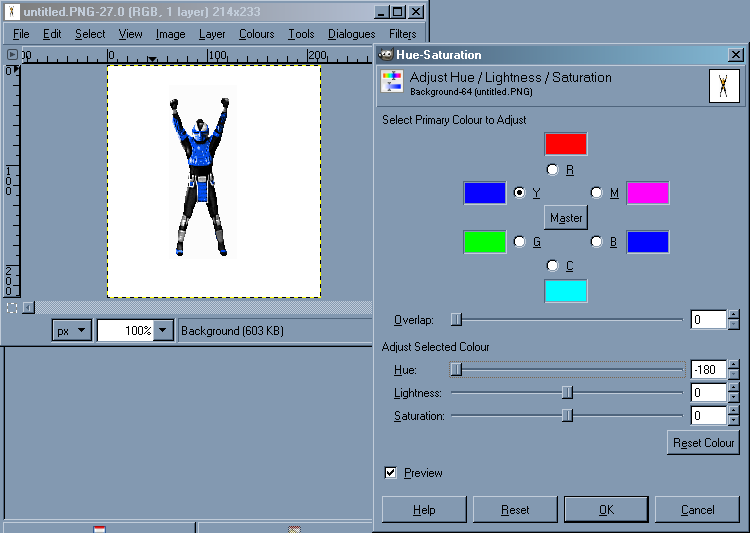
- Since Cyrax here is yellow and you want to change it to a different color, click on "Y" for yellow.
- Click and hold on to the square in the "Hue" bar and move it around.
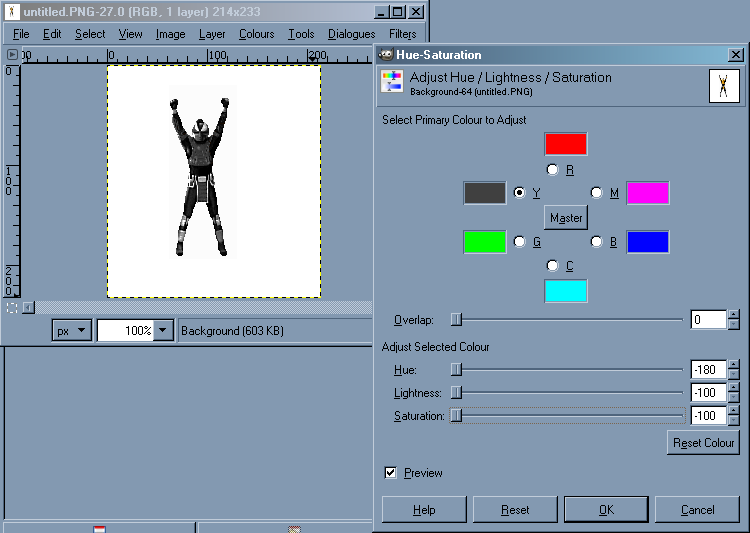
- And there you go! Do you want to ajust the brightness? Click and hold on to the square in the "Lightness" bar and move it around!
- There you go! Lowering the square in the "Saturation" bar will change the color from dark blue to black.
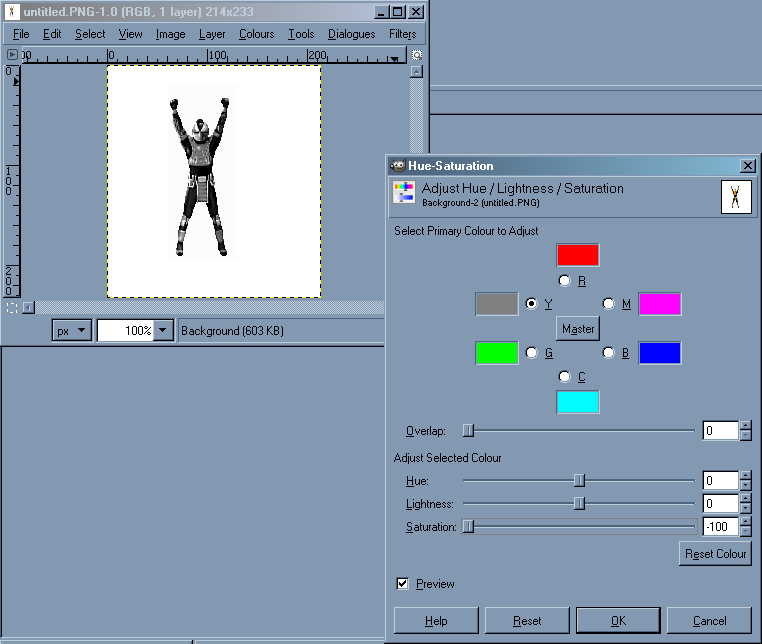
- And if the brightness isn't ajusted, it'll be grey.
- And there, this tutorial is pretty much over. I may add on more soon, though.
Splicing
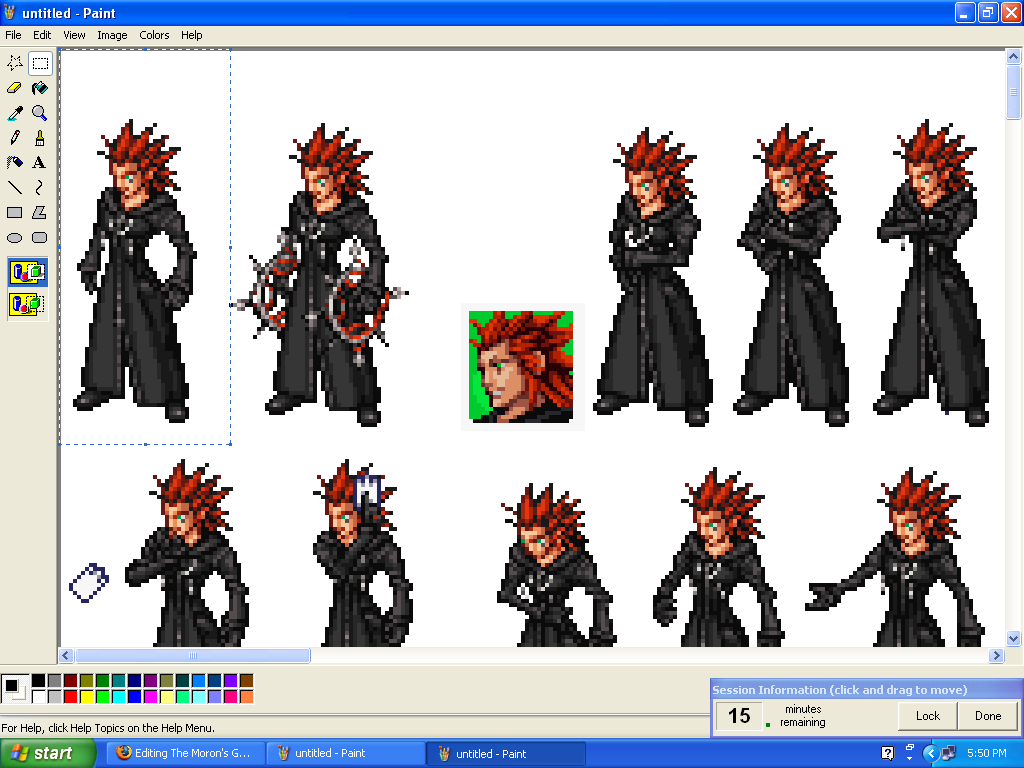
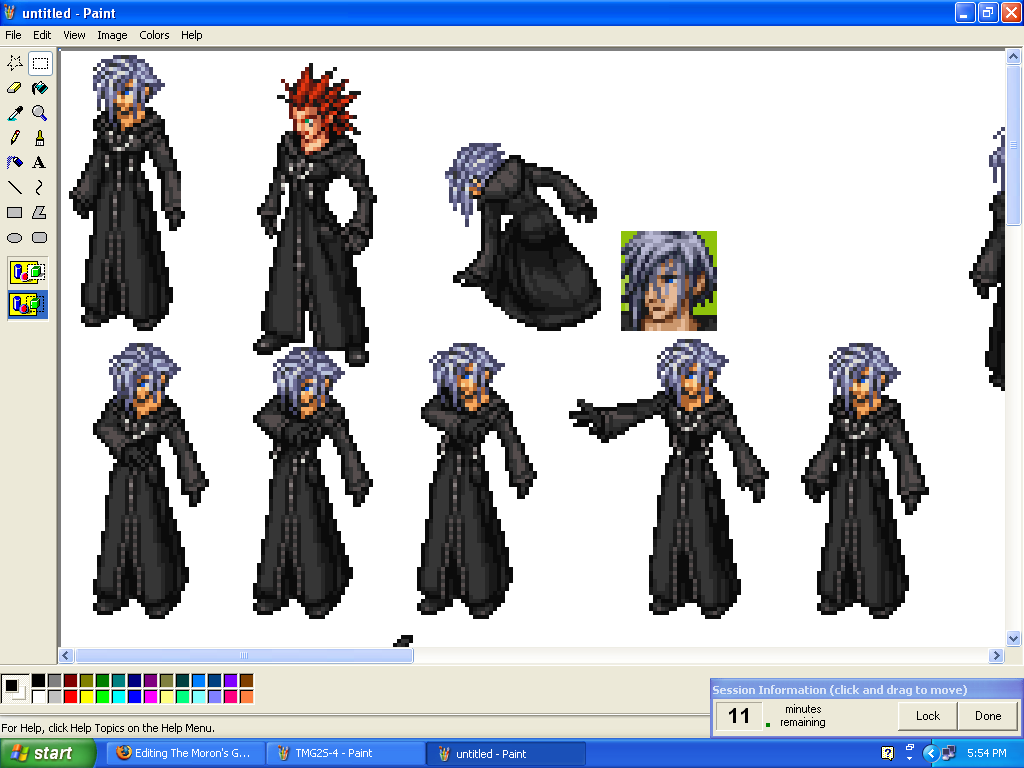
- Plicing requires two sheets: The one you want to keep, and the sheet you want to splice with. Splicing is usually done with heads and hair. Hair is simple, but heads all have different neck sizes. We'll use a different sheet as an example. When you want to move a different sprite from a different paint file, use the selection tool, the one in the top right of the toolbox, and pull it over the sprite like such:
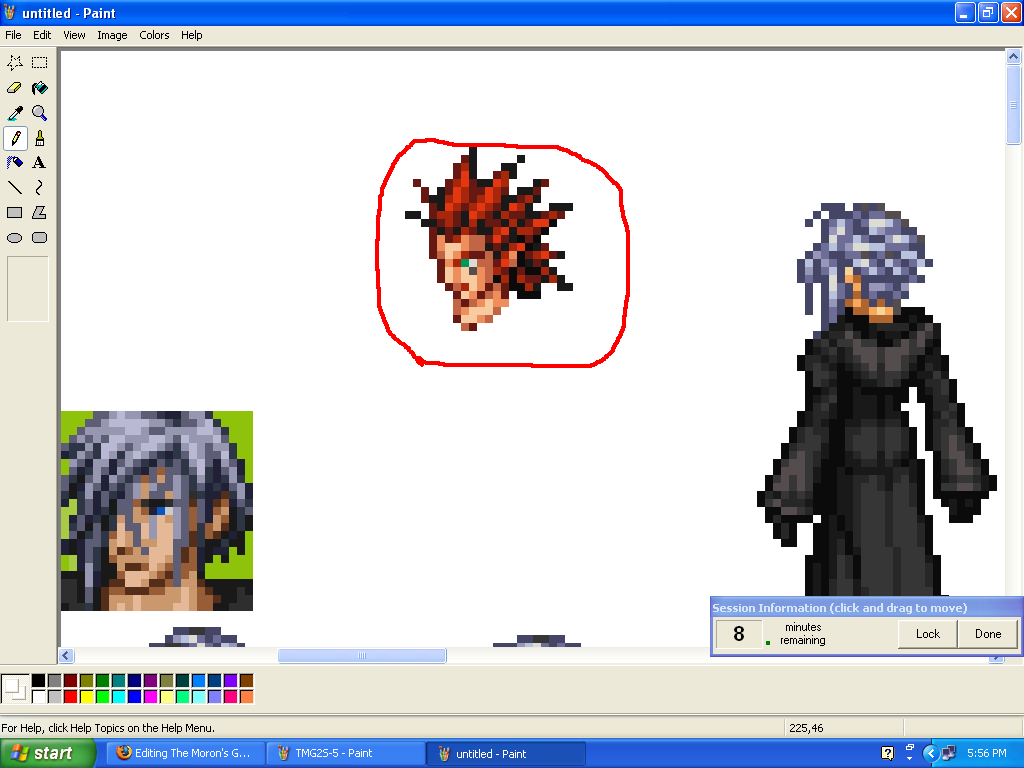
- And when it is in your grasp, go to Edit, COPY and paste. You use Copy because you may need to take it again, or made a mistake. Now, bring it onto the next sheet:
- And cut off the head. I suggest you do it at a part that also has his clothing. Now, choose white in the color box and pencil over everything except the head and neck:
- If you need to get in closer, go to view, zoom, an CUSTOM... and put it at 800. This is the max view, and the best.
- Now, put it over the head,
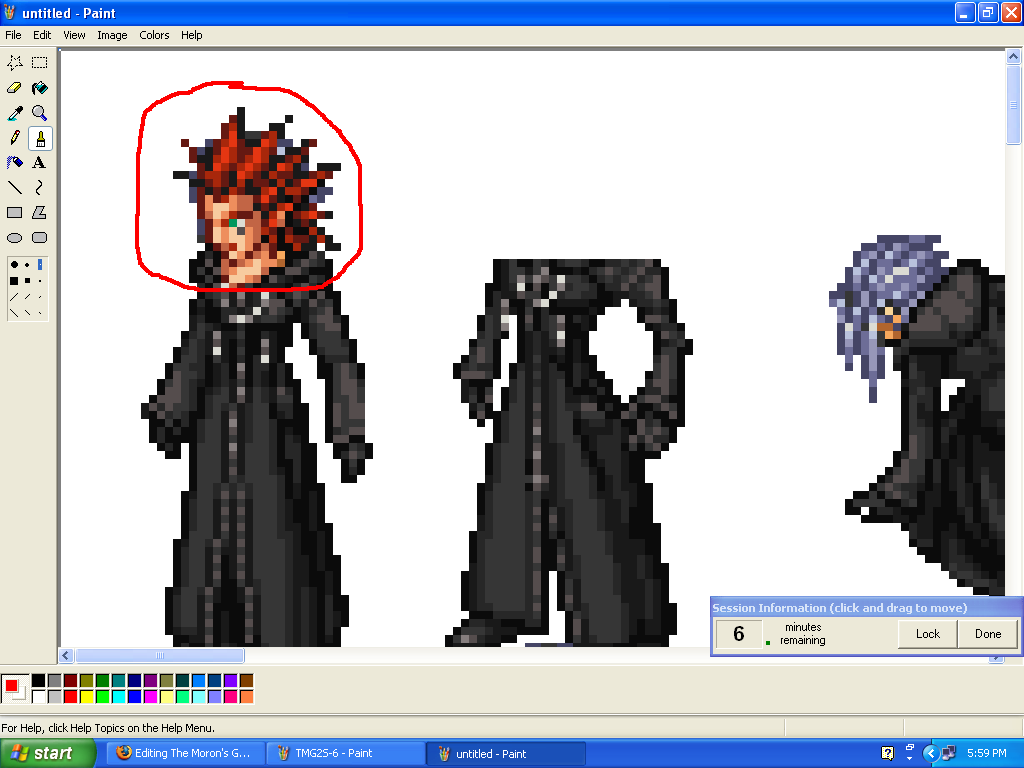
- And you're almost done! Now, see the Straggling pixels still left from before? Fill those in like you did to remove the clothing around the head.
- There. You have spliced a head...and gave Axel a thinner form. Combine this with recoloring, and you have a near-genuine custom sprite! Now, you know the basics of spriting. Look below for quick tips.
Making a Custom Weapon
- This is simple. This may or may not have to be done in scratch.
- If you want to, combine weapons using splicing, or just draw one straight line and see where it takes you.
- There really isn't anything specific or special to this.
Rotating
- Rotating is tricky. You can rotate them horizontally, or do it diagonally.
Horizontal
- First, you need to use the flip/rotate command. Get to it by right-clicking on a sprite you selected with the selection tool.
- Go to "Flip/Rotate". You can move it horizontally, vertically, or at angles in integers of 90. Notice, however, it isn't in 45, to make it diagonal. That's where an entirely new program comes in.
Diagonal
- To make sprites diagonally, such as certain weapons, you need RotSprite. Rotsprite can rotate the sprites at any angle.
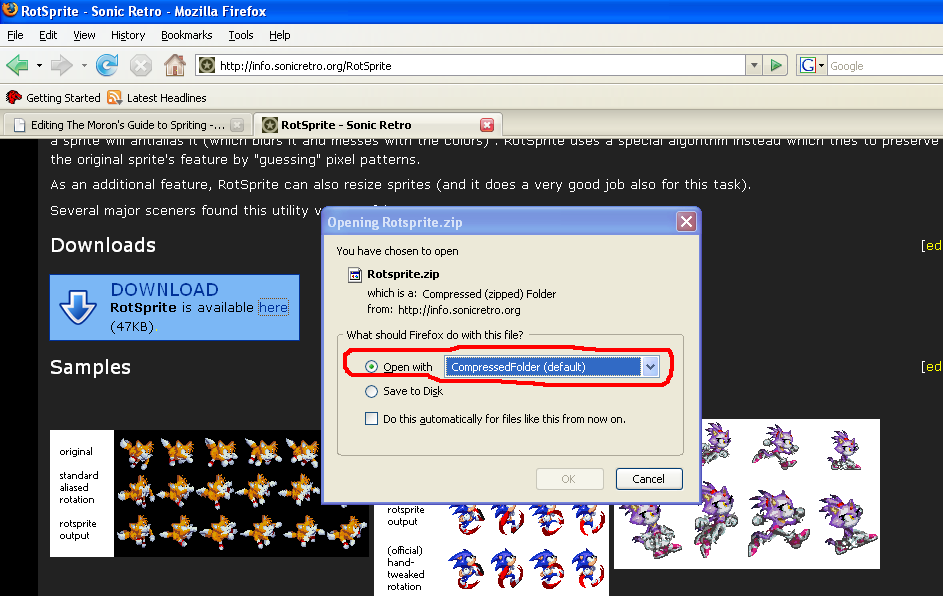
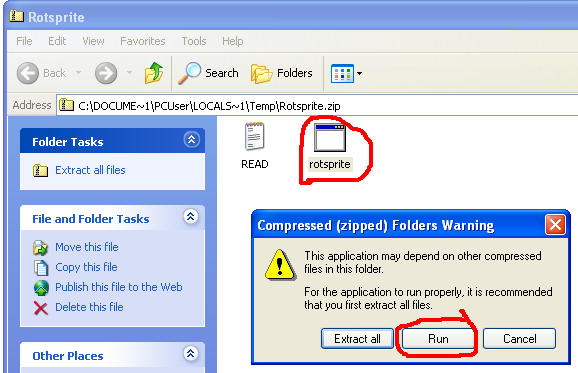
- Now, when you click the download link, make sure you change the "open with" it to the compressed folder, if it is not the default. that way, when you double-click it on the desktop, it'll open properly.
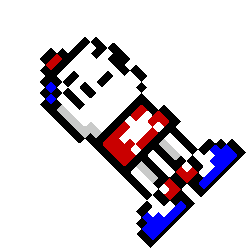
- Now, getting the sprite is tough. Let's say I wanted to Rotate this sprite:
- You'd need to shrink the sheet space to fit him and only him. When you do that, give it the name you desire. Then, go to your desktop and open RotSprite(unless you've already opened it). Double-click on the thing called "rotsprite", then click run.
- Now, choose the sheet you want to rotate. It needs to be BMP, PNG, TIFF, JPG or GIF. Double-Click the desired sprite.
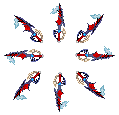
- Now, you need an output. Just hit save, because it instantly makes that. Make sure you DON'T SAVE IT TO THE SHEET YOU WANT TO PUT IT ON! that overwrites the current file and puts the result of the rotate there. Now, if you just want to make a simple 8-cycle rotation like this one:
- Just leave the rotation at 45.0000000.
- If you need/want to see it at a different angle, try it. But beyond that, you're done!
- And that is the basic way of rotating.
Quick tips
- When using the selection tool, click on the Ball, cylinder, and block that has a transparent background. That makes the white sheets turn transparent, so you don't lose sprites because you had to cover them over.
- Speaking of Transparency, make sure you use the paint can on sheets with colors that aren't white. Using it on the space inbetween gets rid of the colors. Always make sure you turn it white. There will be straggles in the sprites from spaces that are closed off, but just zoom in and get rid of them.
- Don't Be afraid for trying something unorthodox. There IS an undo button. But keep in mind it only goes back 3 times.
Other very helpful tutorials
There's many other tutorials out there, And I(Chaosvii7) Personally suggest these tutorials because they are all very detailed and amazing.
- Beyondthepixelz Sprite Tutorials
- The Spriter's Resource Tutorial Section
- Pokemon Elite 2000's Sprite Tutorials(Gotta Sprite 'Em All)
- DH's guide to spriting
- Mcleodgaming Sprite Tutorial(Shading and such)
- Mcleodgaming's OLD Sprite Tutorials(Very very detailed and more than just shading)
Final Notice for experienced Spriters
...ADD ON! if You know other secrets and things about custom sprites beyond making them from scratch, make a new section inbetween the current section and fill it with the information on that topic.


